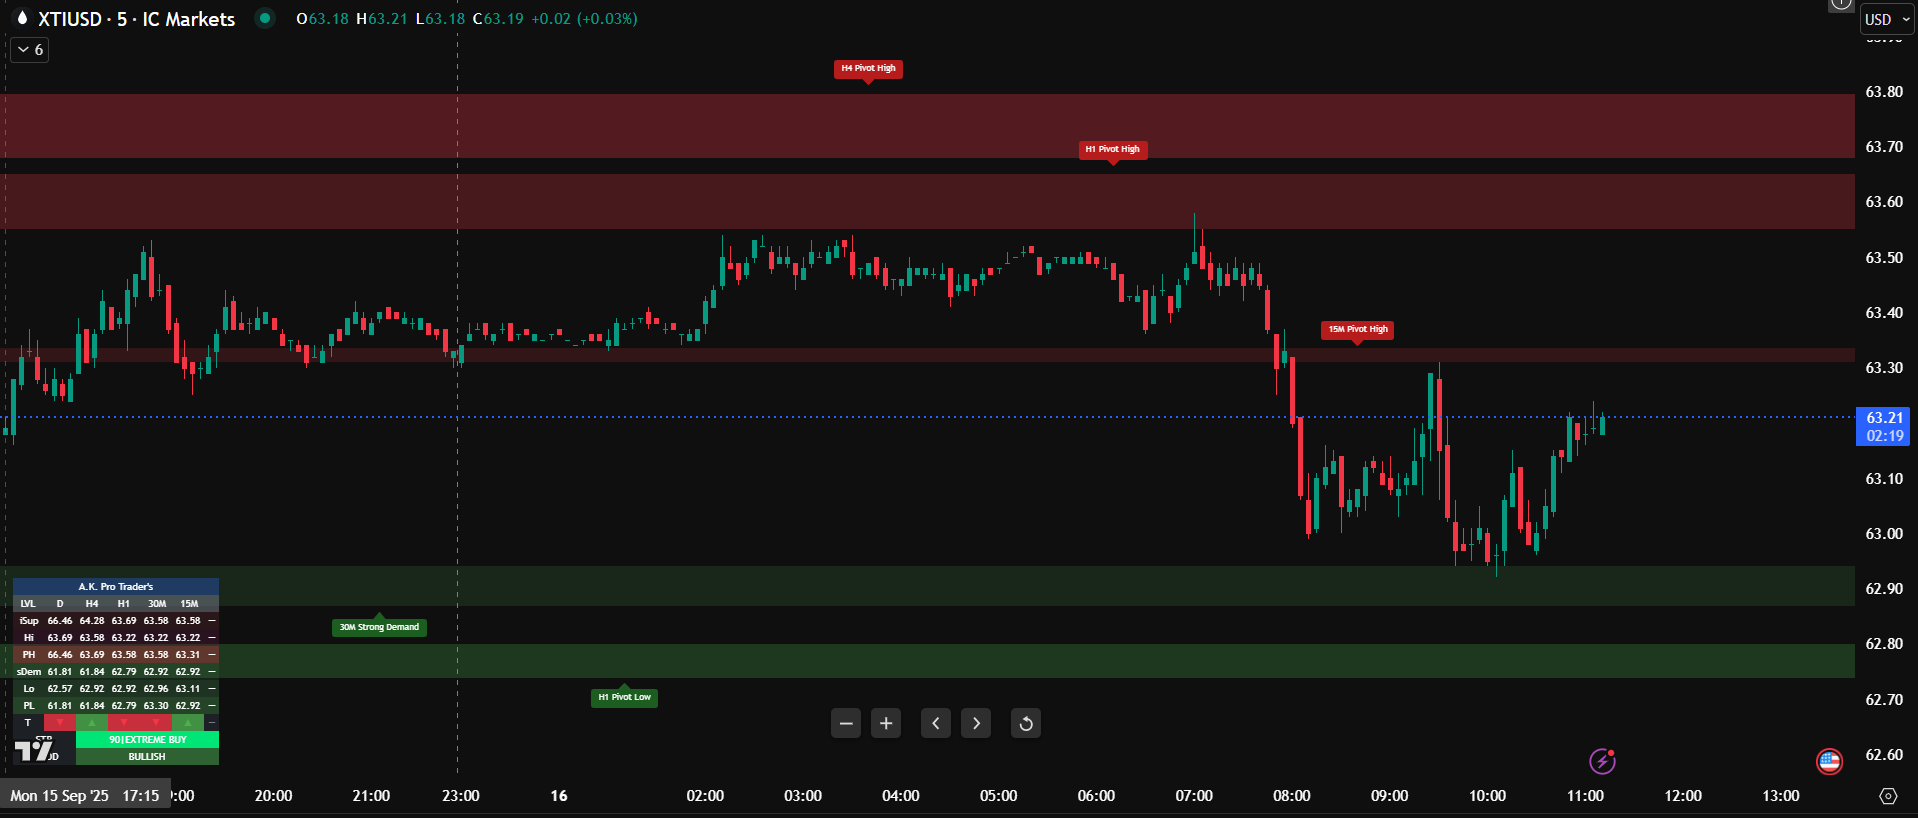
Overview
Key Technical Levels focuses on the cleanest institutional S/R across timeframes. It builds a consistent map first, then filters opportunities via confluence so you only act at meaningful locations—never in the middle of nowhere.
Part 1 — Build the Map (HTF → LTF)
- Start HTF (4H/1H): define the dominant swing trend and key swing points. Decide bull vs bear context.
- Anchor TFs: pick 1–2 anchor TFs (e.g., 1H/4H) to project zones to execution TFs (15m/5m).
- Bias Rule: if HTF bullish, focus on long setups at support; if HTF bearish, focus on short setups at resistance.
Part 2 — Draw & Classify Zones
- Support / Resistance: significant pivots and swing clusters where trend paused or reversed.
- S/R Flips: broken resistance becomes support; broken support becomes resistance—high-value retest areas.
- Zone Hygiene: prefer fresh, clean zones (few retests; decisive origin moves). Merge overlapping zones from the same impulse.
Part 3 — Score for Confluence
- Trend Alignment: zone direction matches HTF bias (support in uptrends, resistance in downtrends).
- Multi-TF Agreement: zones that align across 15m/1H/4H carry more weight.
- Premium/Discount Context: longs in Discount, shorts in Premium relative to the active swing leg.
- POI Nesting: OB/FVG inside the zone increases quality (especially if it swept liquidity on creation).
Part 4 — Execute & Manage
- Trigger: wait for LTF confirmation at the zone (e.g., CHoCH on 5m) before entering—no blind fades.
- Entry: refine to a nested POI (small OB/FVG) within the zone; use limits on the first pullback after trigger.
- Stops: outside the zone’s invalidation (beyond the swing extremity that formed pre-trigger).
- Targets: next HTF swing/liquidity. Partial at intermediate levels; trail behind LTF structure if desired.
Part 5 — Dashboard & Pro Tips
- Dashboard: see active TF zones, flips, and priority at a glance to maintain discipline.
- Zone Invalidation: decisive closes through a level remove it from the plan; re-map the local structure.
- Session & Volatility: prefer timing entries during liquid sessions; avoid low-volatility drifts into zones.
Disclaimer
Educational purposes only; not financial advice. Trading involves significant risk. Past performance is not indicative of future results.
