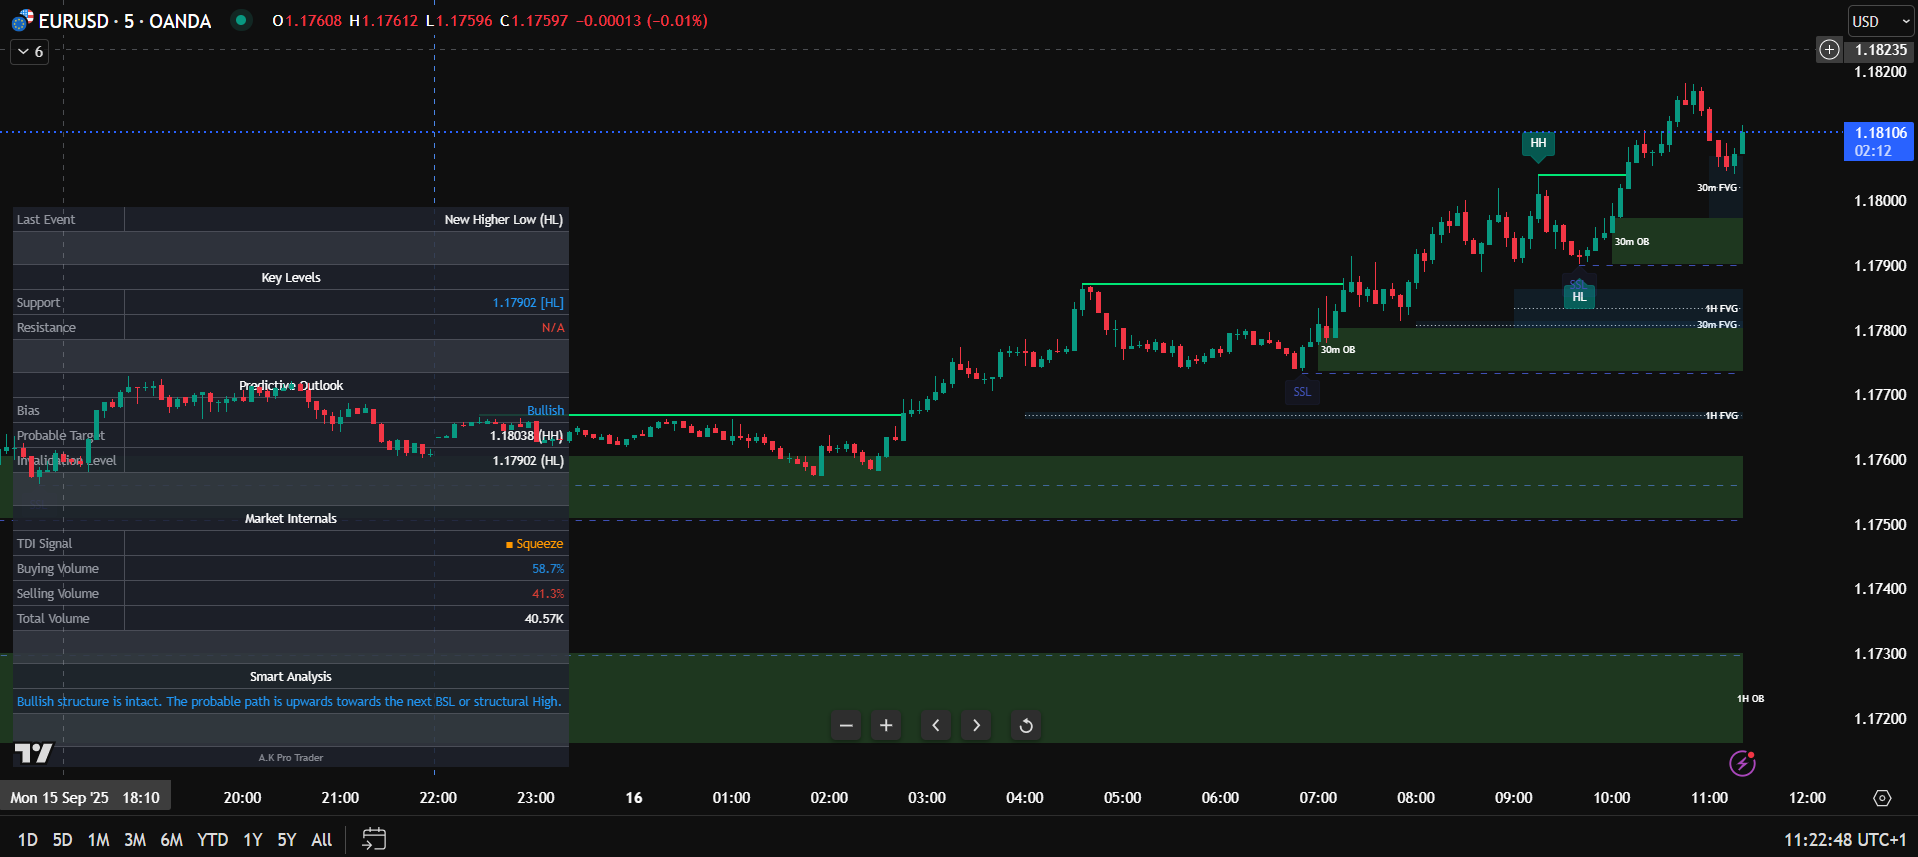
Overview
Advanced A.K Pro Trader's Smart Money Concepts Trading Guide — A Professional Framework. This guide is for experienced traders with a firm grasp of SMC. The indicator is not a signal system—it automates detection of structure and imbalances to streamline analysis and sharpen execution. The aim: identify high-probability setups where institutional order flow is evident.
Part 1 — The Core Philosophy: Top-Down Analysis & Narrative
Trading without a narrative is gambling. Start with Higher Timeframes (4H/1H) to set a directional bias.
- Establish HTF Bias: Use MS labels (HH, HL, LH, LL) to define trend. Only trade in alignment with the HTF bias.
- Identify the HTF Range:
- Bullish: last confirmed HL → HH.
- Bearish: last confirmed LH → LL.
- Wait for Premium/Discount Pricing:
- Bullish bias: buy in Discount (below 50% equilibrium).
- Bearish bias: sell in Premium (above 50% equilibrium).
Part 2 — Identifying High-Probability Points of Interest (POIs)
Inside Premium/Discount, prioritize POIs with the clearest institutional footprint.
- Priority 1 — Strong Order Blocks (OBs): OBs that sweep liquidity and create an FVG are top-tier (marked “Strong”).
- Priority 2 — Standard OBs: Still powerful return-to levels where large orders entered.
- Priority 3 — Fair Value Gaps (FVGs): Inefficiencies price often rebalances. The 50% Consequent Encroachment is highly reactive.
Note on Liquidity (BSL/SSL): Liquidity pools are targets, not entries. Enter at a valid POI; target the nearest significant liquidity pool.
Part 3 — The A+ Trade Setup: Step-by-Step Execution
Step 1 — HTF Analysis (4H/1H)
- Confirm HTF structure (bullish/bearish) and define the active range.
- Wait for price to re-enter Discount (longs) or Premium (shorts).
- Select a high-quality HTF POI inside that zone (Strong OB or clean FVG).
Step 2 — LTF Confirmation (15m/5m)
- Once price taps the HTF POI, drop to 5m.
- Do not enter blindly. Wait for an LTF CHoCH alert.
- Longs: bearish LTF structure is broken by a close above the last lower high.
- Shorts: bullish LTF structure is broken by a close below the last higher low.
Step 3 — Precision Entry & Risk
- After the CHoCH, use the newly created LTF POI (often an FVG or small OB) as your entry zone (limit).
- Stop loss:
- Longs: just below the swing low formed inside the HTF POI before CHoCH.
- Shorts: just above the swing high formed inside the HTF POI before CHoCH.
- Target: next major HTF liquidity pool (for longs, the BSL that created the last HH; for shorts, the SSL that created the last LL). Aim ≥ 1:3 R:R.
Part 4 — Using the Dashboard & Advanced Features
- Smart Analysis: quick-glance summary of trend, structure, and location to maintain your narrative.
- TDI Momentum: treat as final confluence. If TDI contradicts your A+ setup, the pullback may not be done. Alignment after CHoCH adds confidence.
- Zone Invalidation: if price closes decisively through a POI, discard that zone and reassess. Failed support often flips to resistance (and vice-versa).
Disclaimer
Educational purposes only; not financial advice. Trading involves significant risk. Past performance is not indicative of future results.
