Overview
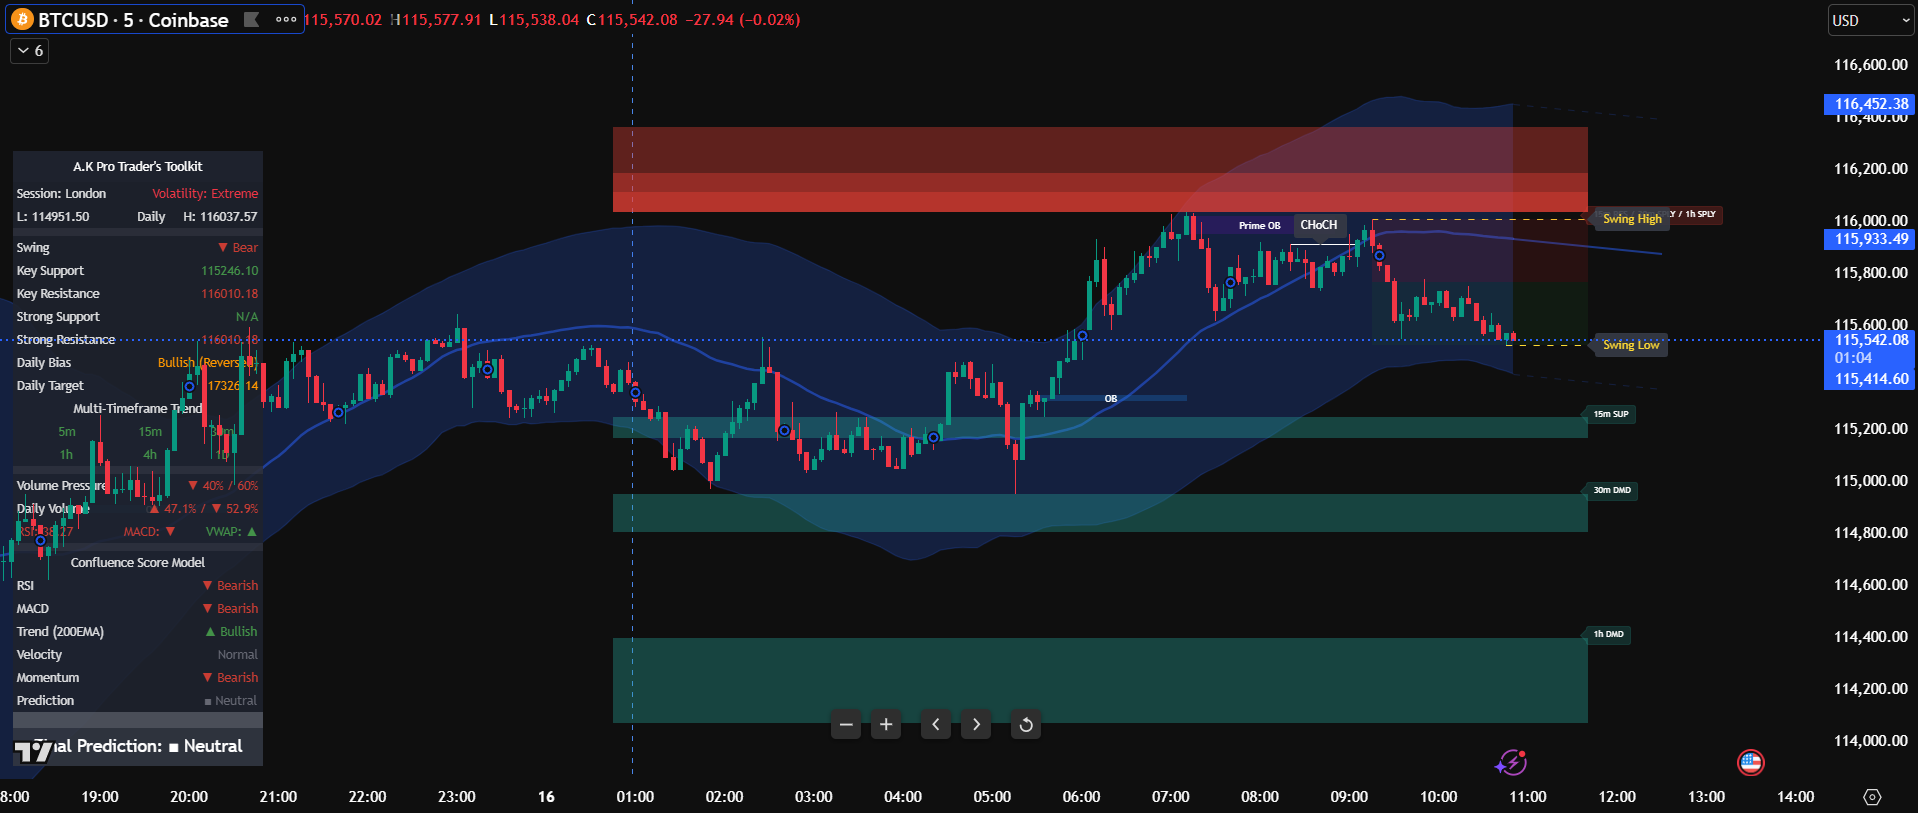
This guide explains how a professional trader would use the A.K Pro Trader’s Toolkit to identify and execute high-probability trades. It is not a signal generator; it is a complete, structured framework for market analysis and decision-making.
The Toolkit is intended for intermediate to advanced traders. You should already understand market structure, risk management, and basic chart reading. If you’re new to trading, build a foundation with introductory technical analysis before adopting this workflow.
Identify the dominant trend, wait for a pullback to a high-confluence area of value, and look for a specific entry confirmation.
Section I — Understanding the Core Concepts
To trade effectively, first learn the language that the Toolkit visualizes for you.
Market Structure (The Trend) 📊 Structure
- CHoCH — Change of Character: early warning a trend may be reversing (e.g., downtrend fails to make a new low and breaks a recent high).
- BOS — Break of Structure: confirmation the trend is continuing. After a bullish CHoCH, breaking the high that caused it confirms the new uptrend.
Premium & Discount Zones (Area of Operation) 🎚️ Value
- The market alternates between expansion (impulsive move) and retracement (pullback). We aim to enter on the retracement.
- Discount Zone (bullish): lower 50% of the leg that broke structure — preferred buy area.
- Premium Zone (bearish): upper 50% of the leg that broke structure — preferred sell area.
Multi-Timeframe Support & Resistance (Confluence) 🧭 Context
- Dynamic zones from significant pivots (15m, 1H, 4H). Price often reacts here.
- Role: confluence filter. Setups strengthen at pre-identified S/R.
- S/R Flips: decisively broken resistance becomes support (and vice versa). Retests can be compelling entries.
Points of Interest (POIs) 🎯 Entry magnets
- Order Blocks (OB): blue = bullish, purple = bearish — areas of likely institutional orders.
- Prime OBs: highest-probability OBs located within the correct Premium/Discount context.
- Fair Value Gaps (FVG): cyan/purple inefficiencies that price tends to “fill”.
Section II — My A-Z Trading Strategy
A practical, step-by-step process to execute with the Toolkit.
Step 1 — Top-Down Analysis (Establish Your Bias) 🧭 Bias
- Start on 1H or 4H.
- Use the dashboard swing structure: ▲ Bull or ▼ Bear sets the session direction.
- If HTF is bullish, you only take longs (ignore bearish signals). If bearish, only shorts.
Step 2 — Wait for a Retracement to a Zone of Value (Patience) ⏳ Patience
- After BOS confirms trend, don’t chase. Wait for the pullback.
- Your Zone of Value = overlap of:
- Premium (for shorts) or Discount (for longs), and
- a key Multi-Timeframe S/R zone — ideally a decisive S/R flip being retested.
Step 3 — Pinpoint Your Entry at a POI (Precision) 📌 POI
- Inside your Zone of Value, locate a precise POI: an Order Block or FVG nested within the S/R and Premium/Discount zone.
- A+ example: 1H trend bullish → BOS → pullback into green Discount Zone → within it, a 1H Support zone containing a Prime Bullish OB. Very high probability.
Step 4 — Execute with Lower-Timeframe Confirmation (The Trigger) ✅ Trigger
- When price taps your POI, drop to 1–5m (e.g., 5m).
- Do not enter blindly — wait for an LTF CHoCH in the direction of HTF bias.
- Long example: 1H POI tagged → 5m prints bullish CHoCH → buyers show control → enter on pullback.
Step 5 — Professional Trade Management (Capital Protection) 🛡️ Risk
- Stop loss: below the POI low for longs (above high for shorts).
- Take profit: target external liquidity — for longs, the BOS swing high; for shorts, the swing low. Optional partials at intermediate S/R.
By layering Trend → S/R Zones → Premium/Discount → POIs → LTF confirmation you move from reactive gambling to proactive, high-probability trading. You let the market come to you at predefined areas of strength.
Disclaimer
Educational purposes only; not financial advice. Trading involves significant risk. Past performance is not indicative of future results.
